How To Use PSD Mockups

Learn how to create mockup images using your .PSD mockup templates.


You Will Learn:

1: How to manually create your mockup images, one-by-one, inside of Photoshop using your .PSD mockup templates.

2: How to automate the bulk-creation of all your mockup images with one click using the Batch-Replace Smart Objects: Automate Mockups plugin for Photoshop.


Photoshop Plugin preview image, to automate the bulk-creation of mockup images using PSD mockup templates

Understanding The Structure Of Your .PSD Mockup Template

Most PSD mockup templates follow the same basic structure: The mockup that you downloaded is most likely a .PSD filetype, which is a layered Photoshop document. The different layers in the document are what create the realism of your final mockup images. At the most basic level, .PSD mockup templates are typically structured in the following manner:

TOP LAYER(S): Overlay layer(s) -- providing texture, shadows, etc.

MIDDLE LAYER(S): Smart Object layer(s) -- this is where you place your artwork / design images.

BOTTOM LAYER(S): Background layer(s) -- providing the mockup scene, often including furniture, surrounding items, etc.

Photoshop screenshot depicting the layers of a PSD mockup template

Example 1 with overlay layers.


Photoshop screenshot depicting the layers of a PSD mockup template

Example 2 with background layer.


How To Manually Create Your Mockup Images In Photoshop

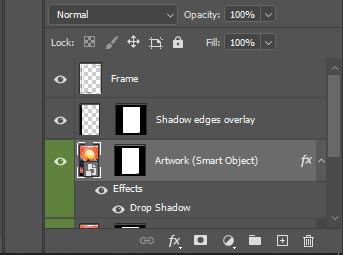
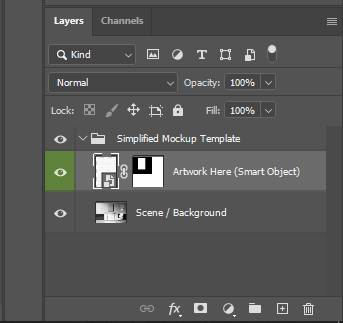
Creating your mockup images in Photoshop is fairly simple: Simply locate the Smart Object layer, and replace it with your artwork / design image. This can be done via one of two methods:

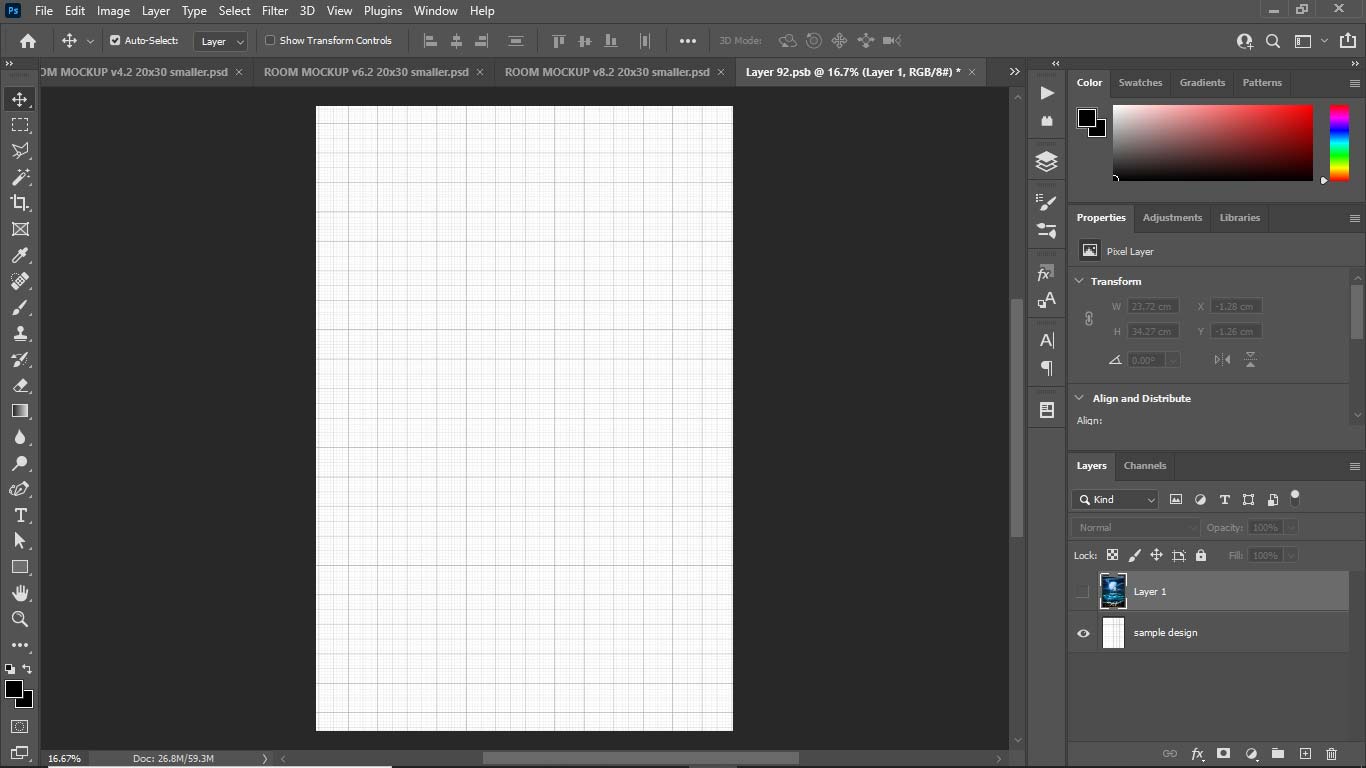
METHOD 1: Double-click the thumbnail of the Smart Object layer, which will open its contents in another tab in Photoshop. You can then simply place your artwork / design image at the very top of the Smart Object layer stack, Save, and it will update the .PSD document—effectively placing your design image inside of the Smart Object and updating the mockup template as a whole accordingly.

The main advantage of using this method is, you have more control over the appearance of the artwork / design image, in relation to the Smart Object's container size. By opening the Smart Object's contents in a separate tab, this allows you to resize the design image and reposition it to your liking—giving you a greater degree of control over the precise appearance of your final mockup images.

Photoshop screenshot depicting the inner contents of a Smart Object layer for a PSD mockup template.

Method 1 in action.


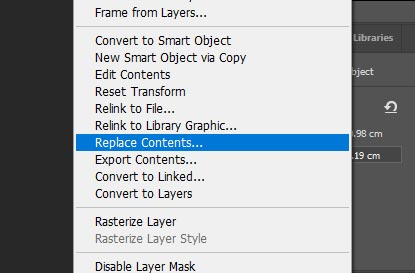
METHOD 2: Right-click the Smart Object layer, and click "Replace Contents." You will then navigate to your artwork / design image, select it, and this will automatically replace the Smart Object contents with your design image.

The main advantage of this method is, it's slightly faster. However the biggest drawback is: A lack of control over the sizing and positioning of the artwork / design image, in relation to the Smart Object container. This method basically just auto-places your selected design image in the center of the Smart Object, and the size is automatically determined based on the aspect ratio and resolution of your design image. This method can cause frustration, because unless your input images are sized at the exact aspect ratio and DPI/resolution to perfectly match the Smart Object, it can lead to your input images looking too large or too small, relative to the Smart Object's container size and relative to the desired placement that you actually had in mind for your design image.

Photoshop screenshot showing how to replace the contents of a Smart Object layer for a PSD mockup template.

Method 2 in action.


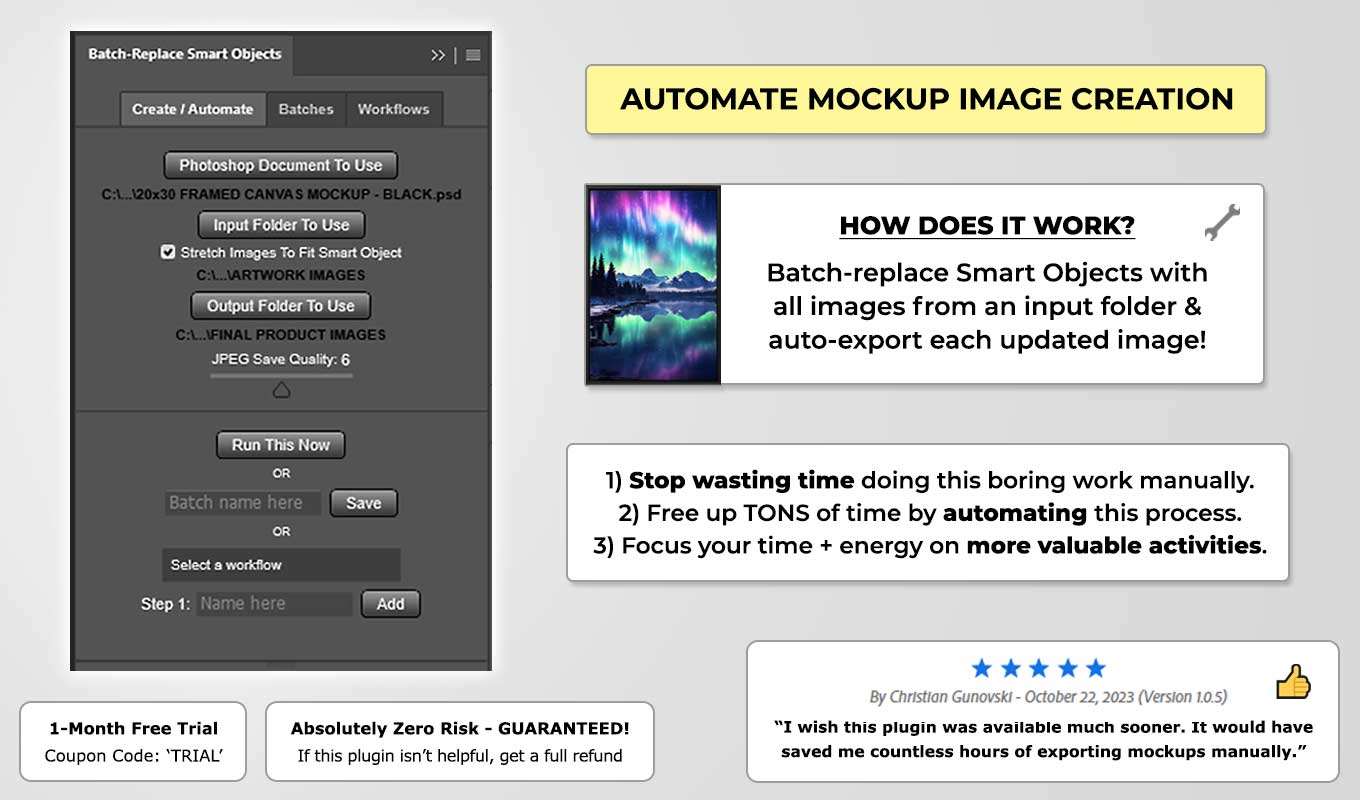
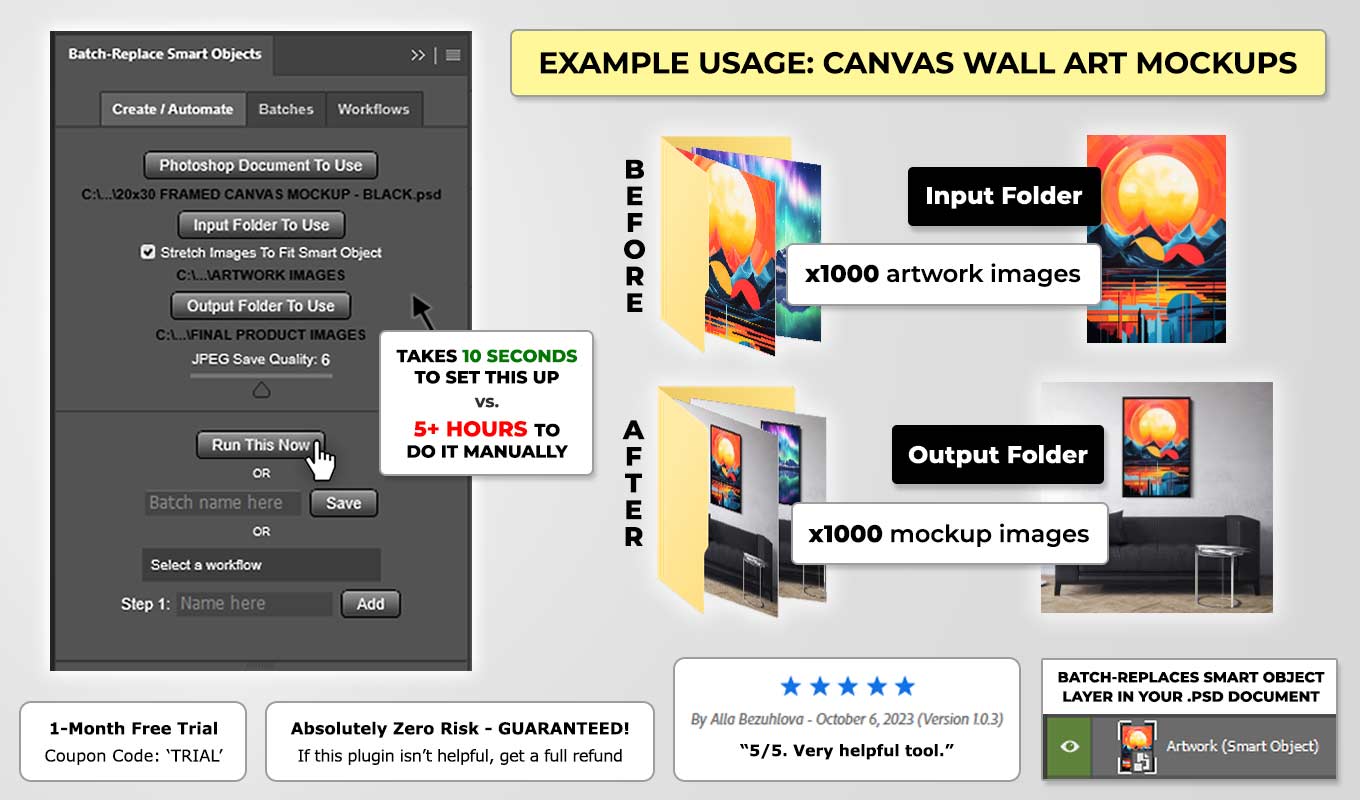
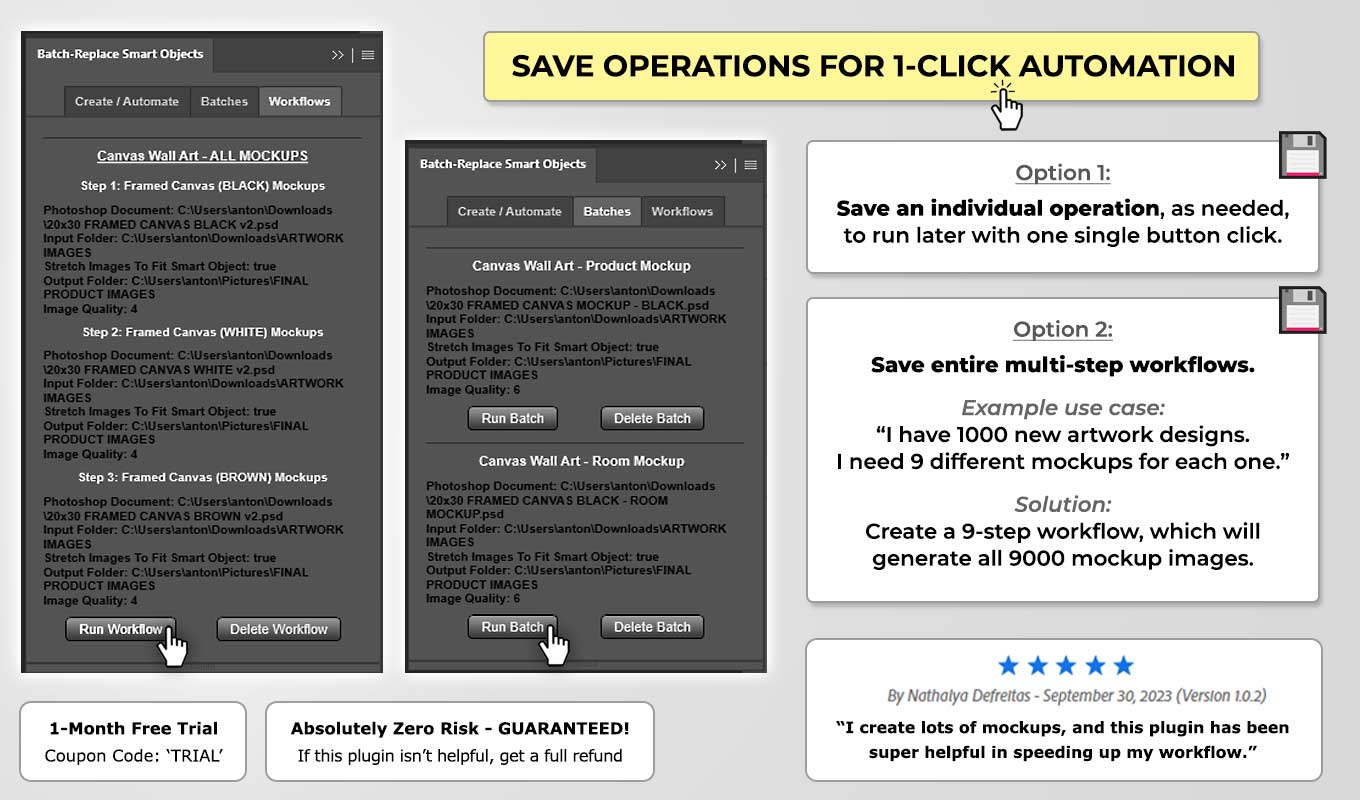
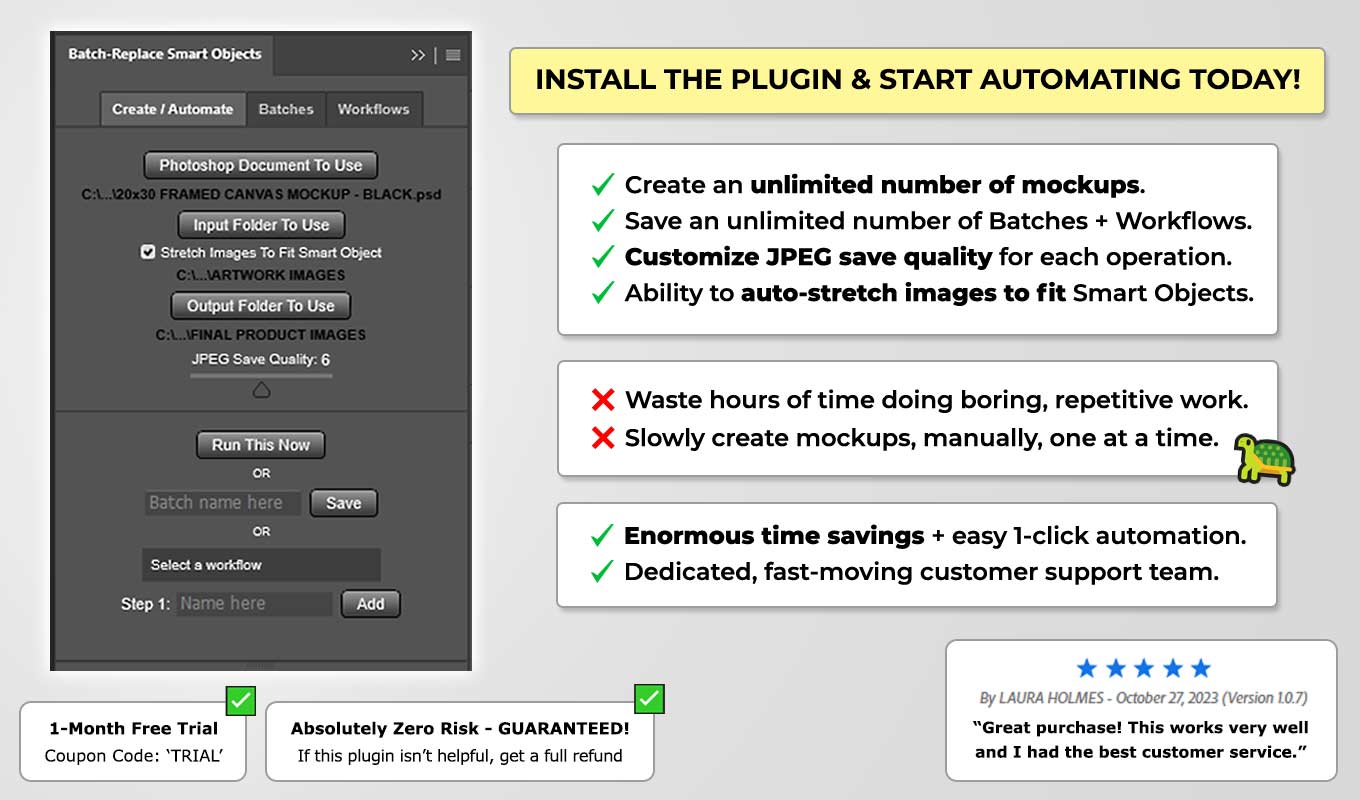
Either method can be used to create your mockup images in Photoshop. If you just need to create a small number of mockup images, these manual techniques will likely be sufficient for your needs. However, if you plan to generate a large quantity of mockup images, individually creating each one manually inside of Photoshop quickly becomes untenable and extremely time-consuming. Creating hundreds of mockup images, one at a time, would easily take you several hours of work. This is where automating the bulk-creation of your mockups using the Batch-Replace Smart Objects plugin becomes your best option.

Tortoise using laptop computer, funny concept image depicting slow manual mockup creation vs. faster automation.

How To Automate The Bulk-Creation Of Your Mockup Images

You can easily automate the creation of your mockup images using the Batch-Replace Smart Objects plugin for Photoshop. This plugin is designed to optimize the bulk-creation of mockup images using .PSD templates, and it's compatible with thousands of different .PSD mockup types.

(Learn more at our comprehensive FAQ guide on automating the bulk-creation of mockup images.)


Screenshot image showcasing how to automate bulk mockup-image creation Screenshot image showcasing how to automate bulk mockup-image creation Screenshot image showcasing how to automate bulk mockup-image creation Screenshot image showcasing how to automate bulk mockup-image creation Screenshot image showcasing how to automate bulk mockup-image creation
Screenshot image of video showcasing how to automate bulk mockup-image creation
OR

How Does It Work?

This Photoshop Plugin automates mockup creation by batch-replacing the Smart Object layer in your .psd mockup template. You can also automate multi-step operations — allowing you to iterate through multiple mockup templates and create all your required mockup images with one single click.

Learn more on our official Adobe Listing Page:
https://exchange.adobe.com/apps/cc/8e3097ba/batch-replace-smart-objects


Supported Mockups: